This step-by-step guide provides clear instructions on how to clean a vacuum cleaner filter, which is crucial for ensuring your vacuum operates efficiently and lasts longer. It covers essential steps such as unplugging the vacuum, removing the filter, tapping off debris, rinsing it under water, and allowing it to dry completely before reinserting it. Following these steps will help maintain your vacuum cleaner’s performance and prolong its lifespan.


Gather the necessary supplies before you start your cleaning project. Collect a soft brush, which will help you gently remove dust and debris without scratching surfaces. Fill a bowl with warm water, ensuring it’s not too hot to prevent any damage to your materials. Add a small amount of mild detergent to the water for effective cleaning. Keep a clean cloth handy for drying surfaces and wiping away any remaining dirt.
Ensure your vacuum cleaner is unplugged to prioritize safety while you work. This simple step prevents any accidental activation while you gather and prepare your supplies. Check that all items are within arm’s reach to streamline your cleaning process. With everything set up, you’ll be ready to tackle your cleaning task efficiently and effectively.
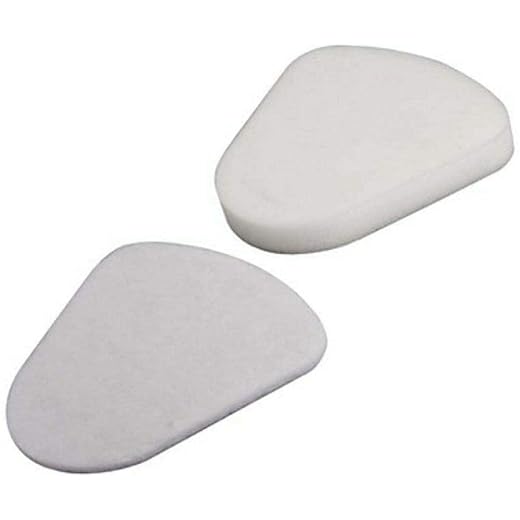

Locate the Filter
Open the vacuum cleaner and examine both the dust container and the main body for the filter’s location. Look for a removable cover or a compartment that is distinct from the dust container; this is often where the filter is housed. If your model has a bag, check inside the bag compartment, as some filters are located there.
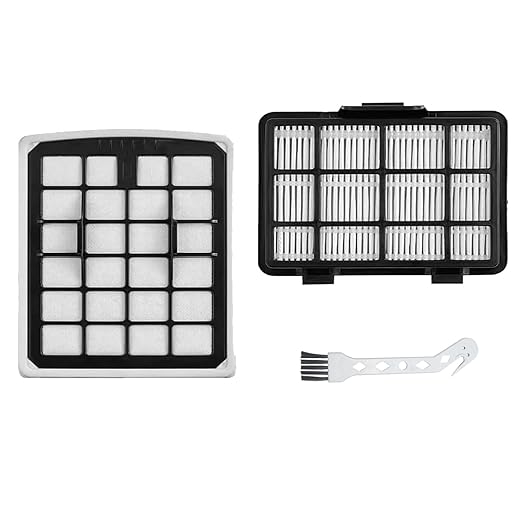
Consult your user manual if you’re having trouble finding the filter. The manual typically provides a visual guide or detailed description of the filter’s location. If your vacuum has a HEPA filter, it might be positioned deeper within the body, so don’t hesitate to explore all accessible areas. Take your time and ensure you are familiar with your specific model’s layout to make maintenance easier in the future.
Remove the Filter
Carefully grasp the filter with both hands. Ensure that your fingers are positioned away from any clips or latches that might be holding it in place.
- Gently wiggle the filter back and forth to loosen it if it feels stuck.
- Avoid applying excessive force, as this could break or bend the clips.
- Once it feels free, lift the filter straight out of the compartment.
Set the filter aside on a clean surface. Make sure the area is free of dust and debris to prevent contamination. If possible, lay it down flat to avoid any bending or damage.
Brush Off Loose Dirt
Gently use a soft brush to dislodge any loose dirt or dust from the filter. Start at one edge of the filter and work your way across, using light, sweeping motions to avoid damaging the material. Ensure that you cover all areas, including the corners and crevices, where dust tends to accumulate. This initial brushing will help remove the largest particles, making the subsequent washing process more effective.
Focus on maintaining a consistent pressure while brushing. If you notice any stubborn bits of dirt that resist your efforts, you can apply a little more pressure but still be cautious not to damage the filter. After you’ve brushed off the loose debris, you’ll be left with a cleaner surface, significantly improving the efficiency of your washing routine.
Wash the Filter
Fill a bowl with warm water and add a few drops of mild detergent. Ensure the mixture is well combined to create a soapy solution. Submerge the filter completely in the soapy water, ensuring all parts are covered. Gently agitate the filter in the water for a few moments, allowing the detergent to penetrate and lift away any remaining dirt and debris.
Rinse the filter thoroughly under running water. Hold the filter under the tap and continue rinsing until the water runs clear, indicating that all soap and dirt have been removed. Pay attention to any crevices or folds in the filter to ensure a thorough clean. Once rinsed, gently shake off excess water and set the filter aside to dry completely before reusing.
Dry the Filter
Allow the filter to air dry completely before reassembling. Find a well-ventilated area, such as near an open window or outside, where air can circulate freely around the filter. Avoid placing the filter near heat sources like radiators, ovens, or direct sunlight, as these can damage the filter material and affect its performance.
Position the filter flat on a clean surface or hang it up using a non-abrasive method, ensuring it’s not crumpled or folded. Give it ample time to dry, typically several hours or overnight, to ensure that all moisture has evaporated before putting it back into use. This step is crucial for maintaining the effectiveness and longevity of your filter.
Reinsert the Filter
Carefully align the filter with the designated slot in the vacuum cleaner. Ensure the filter fits snugly without any gaps. Follow the manufacturer’s instructions for the correct orientation; many filters have notches or arrows indicating the right way to insert them.
- Push the filter in firmly until you hear a click, indicating it is securely in place.
- Check for any visible misalignment or looseness after reinserting.
- If your vacuum has a cover, replace it to fully enclose the filter.
For example, if you’re using a HEPA filter, make sure the side marked “this side up” is facing the correct direction. This attention to detail will help maintain your vacuum’s performance and prolong the life of the filter.
Final Tips for Maintenance
In conclusion, taking the time to clean your vacuum cleaner filter is an essential step in ensuring your appliance runs smoothly and effectively. By incorporating this simple maintenance routine into your cleaning schedule, you’ll not only enhance your vacuum’s performance but also extend its lifespan. So, don’t overlook this crucial task—your vacuum (and your home) will thank you for it!


Thanks for sharing your experience! We’re glad to hear that the guide helped you and your Dyson is running smoothly again. It’s always a good idea to check the manual for model-specific tips. Happy cleaning!
I did everything in this guide, but I accidentally left my filter in the sun to dry and it got warped. Now I have to buy a new one 😩. Make sure you all dry it in a shady place!
Oh no! Thanks for sharing that important tip. It’s easy to overlook drying methods. We recommend air drying in a cool, shaded area to prevent warping. Good luck with your next filter!
This is super helpful! I have a Shark Navigator, and I often forget to clean the filter. I’ve noticed it doesn’t pick up as well when it’s dirty. Now I’ll set a reminder to do this every few months!
Great idea to set a reminder! Keeping your Shark Navigator filter clean will definitely improve performance. Thanks for sharing your plan!
I usually just bang the filter against the trash can to get the dust out instead of brushing. It’s quick and easy! Anyone else do this? It might not be as thorough, but it works for me.
That’s a neat shortcut! Sometimes a quick bang does the trick, though brushing might get more dirt out. Just make sure you’re not damaging the filter! Thanks for sharing your method.
For anyone using a HEPA filter, remember not to wash it with soap! Just rinse it with water. It can lose its effectiveness if soap gets in there.
Excellent point! HEPA filters can be sensitive to cleaning methods. Thanks for the reminder to everyone about avoiding soap.
What about advanced tips for deep cleaning a vacuum cleaner? Any suggestions for those of us who want to go the extra mile?
Great question! For deep cleaning, consider taking apart other components like the brush roll and canister. We’ll definitely look into providing more advanced tips in future articles!
Great guide! I just cleaned my Dyson V8 filter using these steps, and it worked like a charm! I was surprised at how much dirt was trapped in there. Definitely improved suction! Just make sure to read the manual too, some models might have specific instructions.
I’d love to see an article on how to maintain the vacuum’s brush roll too! I feel like I’ve neglected that part for way too long.
Great suggestion! Maintaining the brush roll is crucial for vacuum efficiency. We’ll consider covering that topic in a future article. Stay tuned!