
This guide offers a straightforward, step-by-step approach to charging the BLACK+DECKER Dustbuster Handheld Vacuum, ensuring optimal performance for your cleaning tasks. It covers essential tips on locating the charging port, connecting the charger securely, and understanding the indicator lights that signal when the vacuum is fully charged. By following these instructions, you can maintain the efficiency of your Dustbuster and ensure it’s always ready for quick clean-ups around your home or car.


Check that you have your Dustbuster vacuum handy. Locate the charging adapter that was included in the original packaging. Ensure you have both items within reach before proceeding.
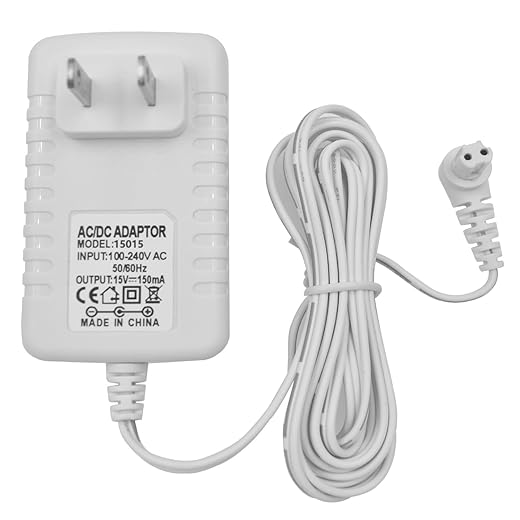
Inspect the charging adapter for any visible damage or wear. If everything looks good, plug the adapter into a power outlet. Make sure the connection is secure to ensure proper charging. Place the Dustbuster on the charging base, aligning it correctly to engage the charging port.

Locate the Charging Port
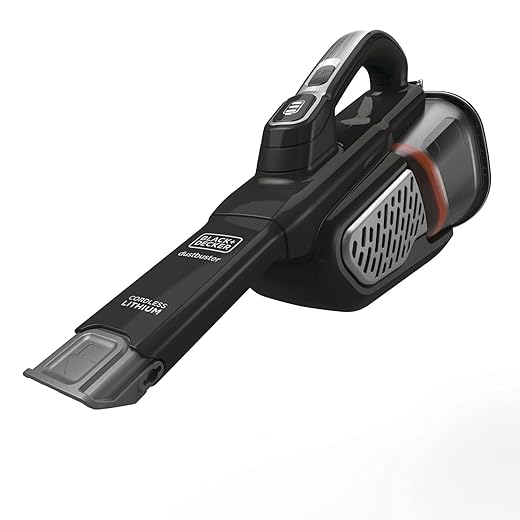
Identify the charging port on your BLACK+DECKER Dustbuster. Look for it at the back or bottom of the vacuum. You’ll recognize it by its distinct design, often resembling a small slot or opening.
- Check the back of the device; the charging port may be positioned near the handle.
- Inspect the bottom if you don’t find it at the back; it may be recessed for a sleek look.
- Ensure the area around the port is clear of dirt or debris, which could obstruct the connection.
Once located, you can easily connect the charger to ensure your Dustbuster is ready for the next cleaning task!
Connect the Charging Adapter
- Take the charging adapter and locate the charging port on your Dustbuster.
- Align the adapter with the port, ensuring the orientation is correct for a smooth connection.
- Plug the adapter firmly into the charging port.
- Apply gentle pressure until you feel it fit snugly, indicating a secure connection.
- Check for any signs of a loose fit; if it wobbles, unplug and reinsert it to ensure a proper connection.
- Confirm that the charging indicator light on the Dustbuster illuminates, signaling that it is charging effectively.
Plug into a Power Outlet
Connect the adapter securely to the Dustbuster. Ensure it fits snugly and does not wobble, as a loose connection can hinder charging. Once the adapter is firmly in place, plug the other end into a standard power outlet. Look for an outlet that you know is functional—perhaps one in a well-used area like your kitchen or living room.
Check the outlet by plugging in a device, like a lamp or phone charger, to confirm it has power. If the lamp lights up or your phone begins to charge, you’re good to go! If not, try another outlet. Make sure the outlet isn’t overloaded with too many devices plugged in at once, as this can cause power issues. Once you’ve confirmed that everything is set, you can sit back and let your Dustbuster charge, ready for your next cleaning task.
Check the Charging Indicator
Observe the charging indicator light on your Dustbuster. It should illuminate brightly, indicating that the vacuum is actively charging. If the light does not turn on, ensure that the charging dock is plugged into a functioning power outlet.
Check the connections between the Dustbuster and the charging dock. Make sure that the Dustbuster is seated correctly on the dock, and that the charging contacts are clean and free from debris. If necessary, wipe the contacts gently with a dry cloth to improve connectivity. If the light still does not illuminate after checking, consider trying a different power outlet or inspecting the charger for any visible damage.
Allow Sufficient Charging Time
Ensure you let your Dustbuster charge for the recommended amount of time, typically around 4-5 hours. Plug in the charger and make sure it is securely connected to both the Dustbuster and a power outlet. Monitor the charging indicator light; once it shows a solid green or appropriate signal indicating a full charge, you can unplug the device.
Avoid removing the Dustbuster from the charger prematurely, as this can result in reduced battery life and performance. If your model has specific guidelines, follow those for optimal charging. Always refer to your user manual for detailed instructions on charging to ensure you’re maintaining the longevity of your device’s battery.
Final Tips for Charging
In conclusion, charging your BLACK+DECKER Dustbuster Handheld Vacuum is a straightforward task that can be easily managed with just a few simple steps. By gathering the right materials, connecting it to a power source, and keeping an eye on the charging status, you can ensure that your vacuum remains fully powered and ready whenever you need it. With this knowledge, you’ll maximize the efficiency of your Dustbuster and keep your space clean with minimal hassle! Happy cleaning!
Necessary Equipment List


I followed the steps to charge my Dustbuster, but I’m not sure how long I should be letting it charge. Can you give a specific time frame? And also, is it okay to leave it plugged in overnight or should I avoid that?
Great question! Typically, you should allow your BLACK+DECKER Dustbuster to charge for about 4-6 hours for optimal performance. It’s generally safe to leave it plugged in overnight, but make sure you don’t make it a habit, as it can reduce battery lifespan in the long run.
So I tried charging my Dustbuster, but the charging indicator light isn’t coming on at all. I double-checked the connections and everything looks good, but no luck. Any troubleshooting tips? I’m kinda bummed out because I love this vacuum!
Sorry to hear you’re having trouble! First, make sure the power outlet is working by plugging in another device. If that’s fine, check the charging adapter for any damage. Sometimes, the charging port on the vacuum can get debris stuck in it. Gently clean it out with a dry cloth. If the light still doesn’t turn on, you might need to contact BLACK+DECKER customer support for further assistance.
Thanks for your question! To clean the filter of your BLACK+DECKER Dustbuster, simply remove it from the vacuum and rinse it under warm water. You can use mild soap if needed. Just make sure it’s completely dry before putting it back in. Regular cleaning will definitely help maintain its suction power!
Hey, this guide is super helpful! Do you have any tips on how to clean the filter of the BLACK+DECKER Dustbuster after charging it? I heard it can get pretty dirty and affect performance. Any recommendations on cleaning products or methods? Thanks!